Apple Pay
Using Apple Pay with payment form components.
Configuration
To allow your customers to pay with Apple Pay™, you must first request that our Support team enables Apple Pay on your Account.
Domain Verification
In addition to enabling Apple Pay on your Account, Apple requires you to register the domain you plan to use with Apple Pay.
To do so, you must host a specific domain association file on your domain, which Apple will periodically check for.
Download this domain association file and publish it to the domain on which you will be hosting your payment form, ensuring it is accessible to the public from the URL https://[DOMAIN_NAME]/.well-known/apple-developer-merchantid-domain-association. For example, if you will be hosting your payment page on your.domain.com, then the domain association file should be accessible at https://your.domain.com/.well-known/apple-developer-merchantid-domain-association
Please note that Apple does not allow redirects, so you must use the exact domain on which you are hosting your payment form. For example, if you host your payment form on www.mysite.com then you need to register "www.mysite.com" and not "mysite.com".
Once you have verified that the file is accessible at that URL, you are ready to request verification by Apple. Using an Application Token with accounts.update permission, submit a request to our API to register your domain. Let's assume your domain is your.domain.com, then the request would look like this:
POST /account/your-account-id/apple-pay
{
  domains: ["your.domain.com"]
}
When you submit the request, we will submit your domain to Apple for registration and they will attempt to download the domain association file.
You can register multiple domains, but each domain must serve the aforementioned domain association file.
Adding Wallets to your Form
Once you have verified your domain and we have enabled Apple Pay for you, we can build on the example previously discussed on ExactJS Payment Forms. You can enable wallets by passing wallets: true as part of the options when adding the card component to your page.
const components = exact.components({ orderId: "the_order_id" });
components.addCard('cardElement', { wallets: true });
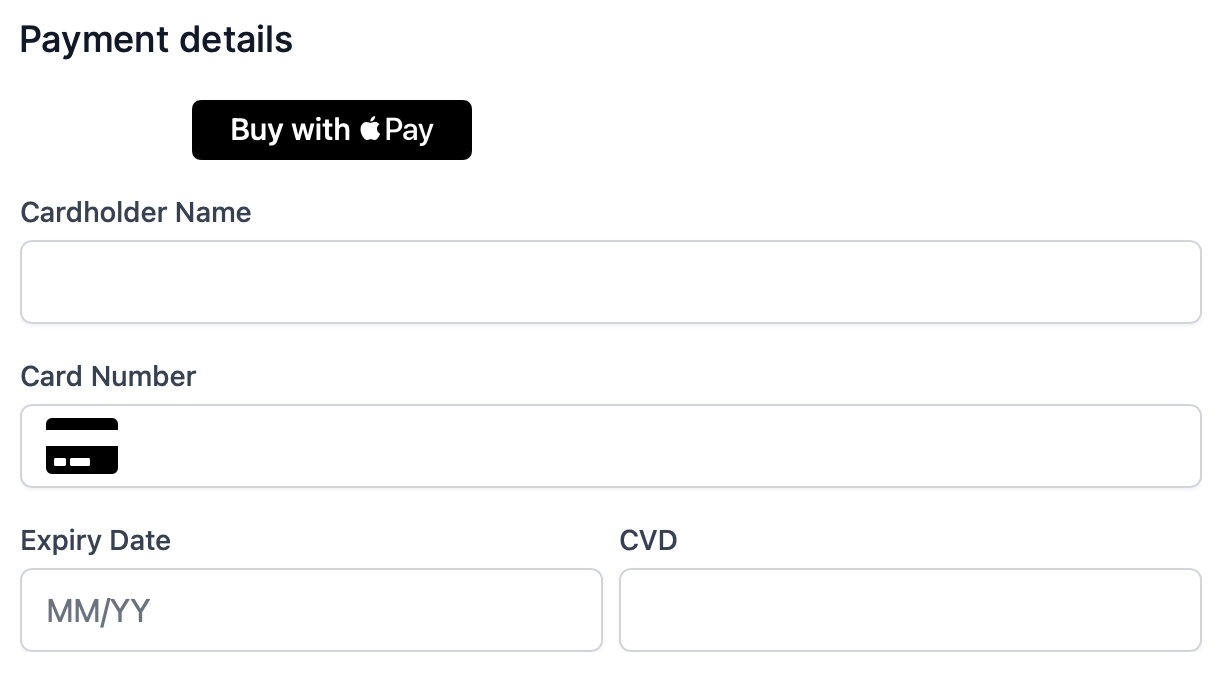
If your Account is enabled for Apple Pay and Apple Pay is supported by the browser, the Apple Pay button will appear as part of the component, above the card details entry.

If your customer chooses to pay with Apple Pay, they are prompted to choose their payment details from their Apple wallet and we will then use those details to pay for your order.
As usual, you will receive the paymentId in return if the payment was successful.
Note
We do not support tokenization with Apple Pay, so even if you have set up your payment form to tokenize your customer's card details, if the customer chooses to use Apple Pay we will still only use their details to pay for the order. We do not tokenize the customer's Apple Pay details.
Finally, we recommend that you read the Apple Pay terms and conditions. These terms and conditions apply whenever the Apple Pay service is offered.